Peek-a-boo

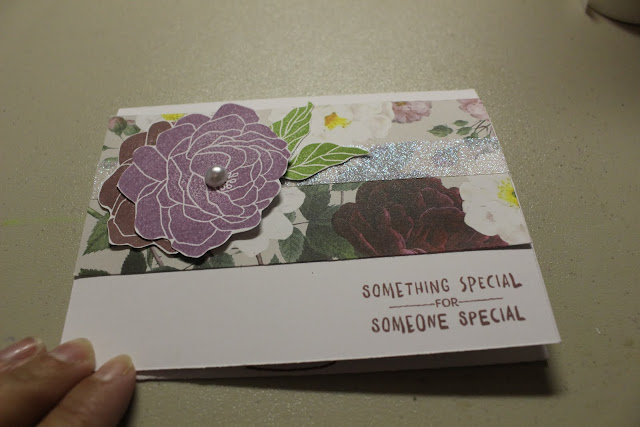
A few weeks ago I created my Mother's Day cards. I made super cute peek-a-boo cards with the Live Beautifully line that debuted for National Papercrafting month. I wanted to share because they turned out really cute and they could be used for any number of occasions! :)
You will need a paper trimmer, white daisy cardstock, Live Beautifully paper pack, Live Beautifully stamp set, and adhesive.
First cut a sheet of 12x12 white daisy cardstock down to 5.25x11.25.

Score the paper at 4 inches and 8 inches. If you don't have a scoring tool just fold with your hands.
Cut the other scrap down to 5.25x7.
Score this piece at 3.5.
Here are both scored pieces.

Place your smaller piece on the cutter longways.

Place the right side edge at the 1/2 mark on your cutter. Then slide it two tick marks to the right. This is the 5/8 mark.

Close the top piece to your cutter.

Place your blade at the 5 inch mark and cut down from there.
Open your lid and flip the paper over. You can see the cut we just made over on the left now.
 Do the exact same thing to the other side.
You can see both cuts we just made here.
 Now we need to cut off the two little flaps we just made.
Now we need to go back to the larger piece.
 Put the smaller section towards the bottom and fold it up on your scored line.
 Fold the larger top piece down. It should match up perfectly at the bottom edge. This makes our outside of our card.
 Now we need to make our window. You can use any shape you want. I chose a circle. You can use a punch to make this window. I actually used my Cuttlebug die cut machine.
 You use two circles that are close in size. You put the small one inside the big one to cut out a frame.
 Now we are going to use the inner circle to cut out our window.

Fold your notched, smaller piece on the scored mark we made earlier.

It's time to stamp!! Stamp your sentiment and decorate the outside how you wish.
 Then decorate the inside.
 Line up the top of your notched piece with the top of your outside piece and trace a line inside your circle.
Now you decorate the inside of the circle. You can stamp or cut out images like I did.
 Then erase any pencil lines that show.
Now glue ONLY the top rectangular portion of your notched piece to the inside of your card.
 Put adhesive on the very bottom of the card to glue the sides of your bottom piece down.
 Glue your frame to the inside.
All done! When you open and close your card your image will pop up in the window. So stinkin' cute!!


Thanks for tuning in!
XOXO
Shauna


Comments
Post a Comment