Posts

Showing posts from October, 2017

Free Halloween Scrapbook Pattern!

Image
I have a treat for you today—a free scrapbook pattern to help you celebrate and preserve all of those bewitchingly fun Halloween memories! This pattern originally debuted with our Perfect Day paper packet, but, as you can see, our timeless patterns can be used at any time and for any occasion with the right combination of papers and Complements! For this hauntingly cute layout, we chose to use our Cats & Bats collection, and the results are just scary good! Now here’s a trick to try out: make the pattern your own by taking a more flexible approach to the prescribed pieces. Take the title on this layout for example; instead of using a rectangular paper piece, we filled the space with a few strips of paper attached at an angle and topped it off with a sticker from the Cats & Bats Complements. Don’t be afraid to get creative and make your own coordinating embellishments, either. If you look closely, you’ll notice that we trimmed some of the longer sticke
Last Call Y'all

Image
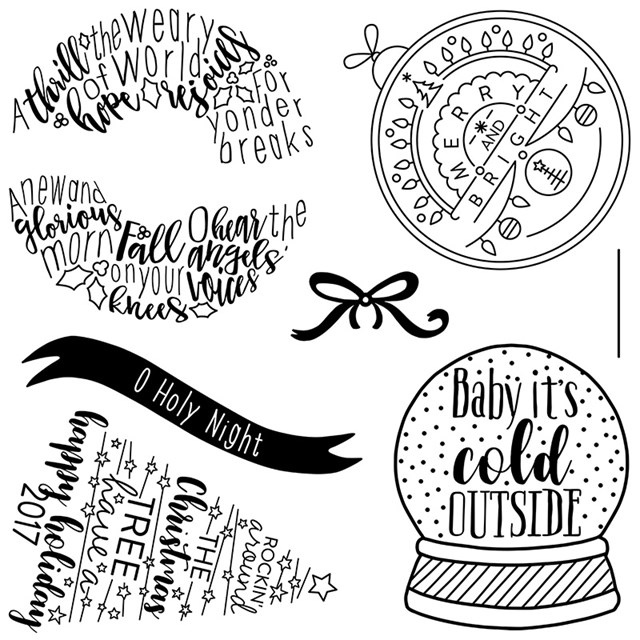
The countdown to the end of October is on!  Only a few more days to get the awesome October stamp of the month for $5 with a $50 order on my website.  You do NOT want to miss out on this one.  It's "Christmas Tunes" and it is so stinkin' cute!  I have seen a TON of adorable ideas with this stamp.  I even posted a video of a dear friend embossing the images on her cards!  Here is a close look at the set . . .  Just look at what you can do . . .  Aren't they darling?! And don't forget the promotion for October - Share a Smile With the purchase of every Punny Pals stamp set, Close To My Heart donates $7 USD of the proceeds to Operation Smile, an organization that provides surgeries to repair cleft lips and palates for children around the world. To bring these stamp images to life, we’ve made a coordinating set of Thin Cuts dies and an exclusive card kit! The card kit includes the dies, card bases, envelopes, paper, and step-by-step instru

It's all in Good "Pun"

Image
Available for this month only, we have coordinating Thin Cuts for our Punny Pals stamp set! Remember, for every Punny Pals stamp set purchased Close To My Heart will donate $7 of the proceeds to Operation Smile™, a non-profit organization that provides safe surgeries to repair cleft lips and palates for people around the world. We took it upon ourselves to come up with a fun way to use this stamp set and its coordinating Thin Cuts to create something guaranteed to make someone smile! Below are step-by-step instructions to show you how to recreate this multi-layer card yourself using partially cut die cuts. Let’s dive right in, shall we? Materials Needed: D1751 My Acrylix ®  Punny Pals Stamp Set CC1340 Thin Cuts—Punny Pals Z3318 Thin Cuts—Basic Circles X7225B Beary Christmas Paper Packet 1385 White Daisy Cardstock X5954 Pewter Cardstock Z899 Black Memento™ Ink Pad Z4050 Picture My Life™—Beary Christmas Z3323 White Burlap Ribbon Z4029 Bronze Sequins 3505 Watercolor Pencils Z2445 Shi

Halloween Workshop

Image
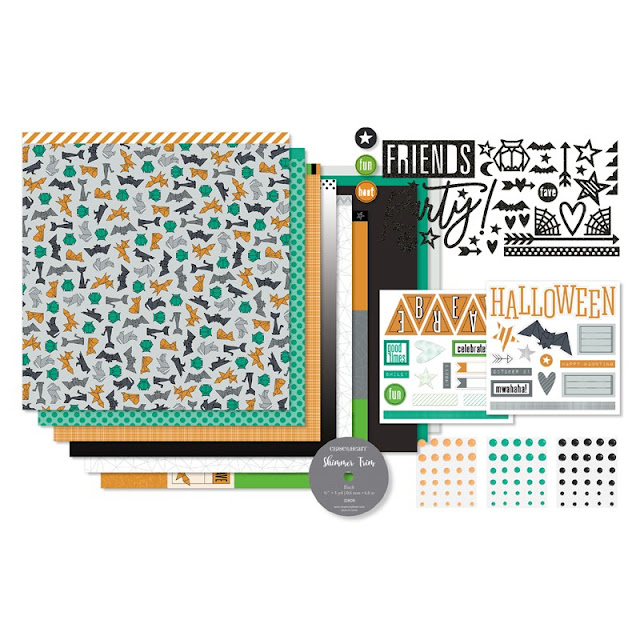
Hey all!  Do you have trouble coming up with layout ideas?  Do you have some Halloween pictures you need to scrapbook or will you have some pictures in the next few weeks?   You need the Cats & Bats Workshops Your Way kit! With the Cats & Bats Workshops Your Way kit you can get all the goodies you need to complete 6 scrapbook pages with full color cutting guides and pictures!  Yes, 6!  Amazing right?!  No need stressing over creativity or time.  This kit makes is so simple.  Want a peek at the layouts you will create with this kit?  Here goes . . .  These pages are so stinkin' cute guys.  Want a little more?  With the leftovers and a few extra supplies you can make 9 cards as well.  How about that?!  Here are the adorable cards. . .  The extra supplies you need for these awesome cards are: -Cats & Bats Cardmaking Stamp and Thin Cuts -Archival Black stamp pad -Goldrush Stamp pad -Pebble stamp pad -Willow Stamp pad -Marigold Marker -Vivd Green Mar

Death by Chocolate . . .

Image
I have just recreated an adorable little coffin craft that I spotted last year.  I can't even contain my excitement over how stinkin' adorable these little things turned out.  I was dying to make one for my little's teacher! Turns out it was easier to make a few than just one.  Soooooo, I have extras that I threw into kits.  Check them out . .  Here's a peek at the inside - This is a pic of what you will get in your kit. Here's the scoop:  As you can see in the pictures you get two pieces to make the coffin, 5 black strips and 5 orange patterned strips for the candies, 5 bitty sparkles for the candies, a foot of black glitter tulle, a hand stamped bat embellishment, and the darling label stating "Death by Chocolate sounds like the way to go".   These little cuties only cost $10 and that includes shipping!  How cute would these be to give away for Halloween gifts for teachers, co-workers, kids, friends, or family?!  To get yo

Things That Go Bump In the Night . . .

Image
Hey gals!  I have taken a little break with school starting back up but it's fall ya'll and it's my FAVORITE season!!  The new Holiday Expressions book came out September 1st and it was love at first sight.  I had to get your attention with that spooky title today because my absolute favorite holiday is Halloween.  Yes, you read that right.  I LOVE Halloween!  I could not wait to start cutting up the Cats & Bats paper as soon as I got it. I have prepared a new Halloween card kit and it is crazy awesome! (squealing with delight!!)  Why pre-cut kits?  Who doesn't love to give their family and friends handmade cards?!  The cost of cards at the store is absolutely absurd.  With the purchase of one of my kits you can create adorable cards for a very minimal price.   Okay, I can hardly contain my excitement.  So without further delay . . .  I'm so excited to be done with this workshop!  I just love every inch of it.  Lets get to the details - I

Marker Shading 101

Image
One of my favorite stamping techniques is how to bring your stamped images to life using marker shading! Today’s post will show you how to get multiple color shades from a single marker. Step One: stamp your image.  If you’re not sure what ink to use, see my tips at the end of this post. Step Two: color your image using ShinHan™ Touch Twin™ markers.  These markers are alcohol based, which makes them ideal for blending. Step Three: decide where the “light” is coming from.  To create a three-dimensional effect, which is what we’re trying to achieve by shading, you must determine where the light and shadows will be. Using the colorless blender, lighten the areas of your image where the light touches it. Step Four: Re-color shaded areas.  Using the same color markers, go over the shaded areas again to darken them.   That’s it! Easy-peasy, right?! You can use this technique directly on a scrapbook page, a card base, or to create an original 3-D accent piec