Step-by-Step Instructions: From the Heart Card Kit
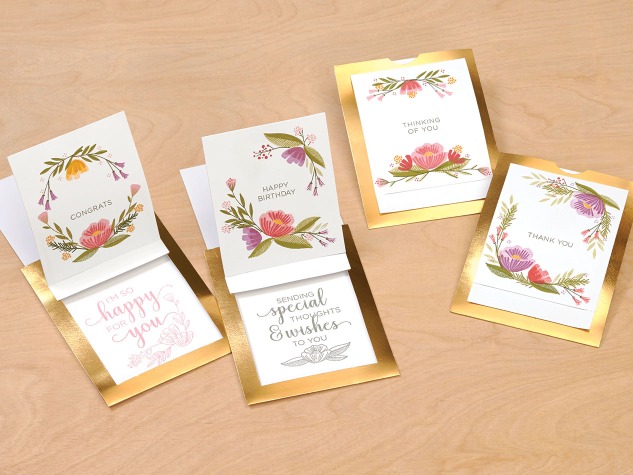
September is National Stamping Month, and Close to My Heart has designed an incredible card kit with elegant, layered stamping to celebrate!
It’s called the From the Heart card kit, and if you love stamping, you’ll love all the ways you can play with the interchangeable stamp designs to achieve a variety of looks for your cards.
If the thought of creating cards like these feels a bit daunting, don’t worry! The kit comes with helpful instructions to walk you through the assembly—just take a look!
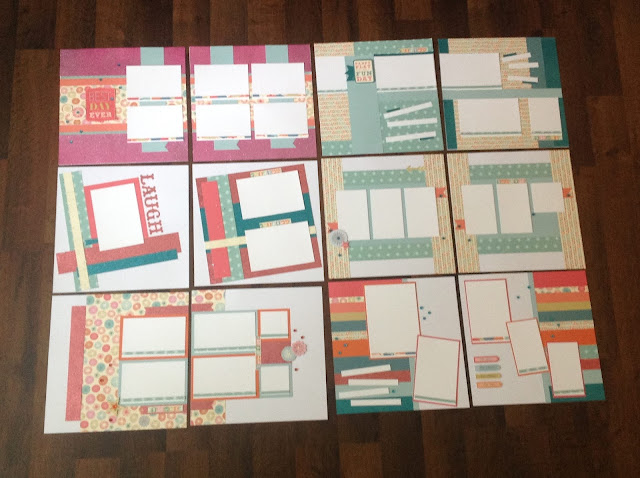
Here are the pieces you get in your kit. You get enough to create 12 cards, plus the beautiful From the Heart stamp set and 12 envelopes. Once you punch out these pieces, follow the instructions below to create your cards.
Step 1
All the folds come pre-scored, so all you have to do is fold along the score lines. Starting with your card base (A), turn the gold foil side down and sharply fold the two outside flaps inward. Add adhesive to the top of these flaps.
Step 2
Fold your card base in half along the score line, attaching the front of the card base to the top of the flaps. This will form a pocket.
Step 3
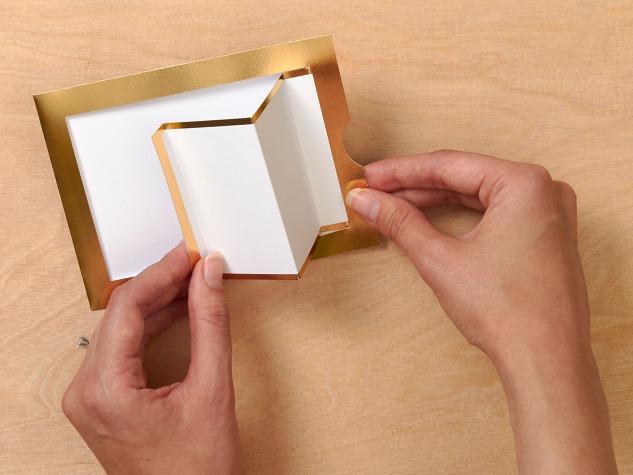
Starting with the detached end of the large flap, make sharp folds along the score lines, accordion style, as shown.
Step 4
Add adhesive to the bottom of first fold (the white side).
Step 5
Insert the pull insert (B) into the pocket in your card base (A), keeping B centered. Attach that first fold from step 5 to the edge of the pull insert, keeping the edges flush. Now when you pull on the insert piece in and out, the large flap should pop up and down!
Step 6
Slide your card closed and then add adhesive to top of first fold (over gold foil).
Step 7
Attach supporting piece (D) to the top of first fold. This supporting piece is a little bit larger than the area where you added the adhesive, so keep the top edge flush with the crease and center it on the flap. When it’s in place, the edges of the supporting piece should overlap the gold foil around the edges of your card.
Step 8
Stamp your choice of sentiment and flowers onto your card front (C). When stamping the layers of your flowers, add extra depth by using different colors for each layer.
Step 9
Stamp leaves and twigs in between flowers. Again, add depth by stamping all of the layers in different colors. This stamp set allows you to get incredible detail in your stamp images for a beautiful finished card.
Step 10
Set aside your card front and go back to the base for a moment. Slide your card open, and then stamp your choice of inside sentiment onto the card base. The From the Heart stamp set includes four large sentiments designed especially to fit this space.
Step 11
Once your stamping is dry, slide the card closed and add adhesive to second fold of large flap. This is the section right next to the supporting strip (D) that you attached, and it is where you will attach your card front.
Step 12
Attach your card front (C) to the second fold, lining up the edges with the supporting strip (D).
Make your own beautiful, interactive cards using this card kit, available only during September!
Don't forget gals, shop all things Close to My Heart at my website.
XOXO, Shauna


Comments
Post a Comment